Installing Custom Puddle Lamps
2009 Subaru Forester
By deep6blue
This guide will assist you in installing a set of LED puddle lamps on a 2009 Subaru Forester. This is NOT using the $150 Subaru kit.
A PDF version of this document can be downloaded by clicking here .
Disclaimer: I am neither an auto mechanic nor electrician; I am a computer guy who likes to tinker. Use these instructions at your own risk.
Materials
1. Lights. I used the “Accent Light Module” in green from here: http://www.superbrightleds.com/mini_tubes.htm2. 5 foot of 22-gauge red wire
3. 5 foot of 22-gauge black wire
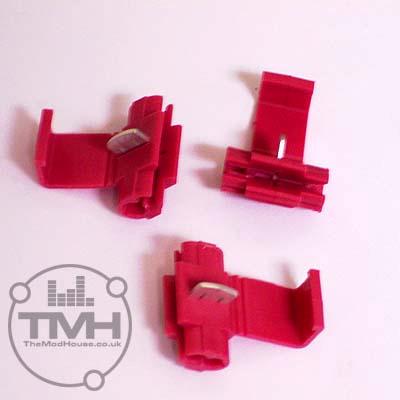
4. 4 Tap Splices for 22-gauge wire (If you don’t know what these are see the picture at the end of this How-To. They are available at Lowe’s & Home Depot)
5. Heavy Duty Double sided 3M tape or small ˝” screws
6. Clear adhesive caulk (optional)
Tools
1. Philips screwdriver2. Standard screwdriver
3. Pliers (for installing the Tap Splices)
4. Wire cutters
5. Wire stripping tool (nice to have, you can also use your teeth or a pocket knife)
6. Electrical tape
7. Flashlight
8. Clear adhesive caulk (optional)
Expenses
| Item | Price Each | Qty | total |
|---|---|---|---|
| LED Lights | $10.95 | 2 | $21.90 plus S&H |
| 22 gauge wire | $6.00 | - | $6.00 |
| Tap splices | $5.00 | - | $5.00 |
| 3M tape | $4.00 | - | $4.00 |
| - | - | Total | $36.90 |
Component Removal
1. Clean the rocker and the mud flags. The rocker is the plastic piece below the doors.2. For the passenger side, turn the wheel to the right. For the driver’s side, turn the wheel to the left.
3. Remove the mud flaps by unscrewing 3 screws. Two screws in the wheel well and one underneath.
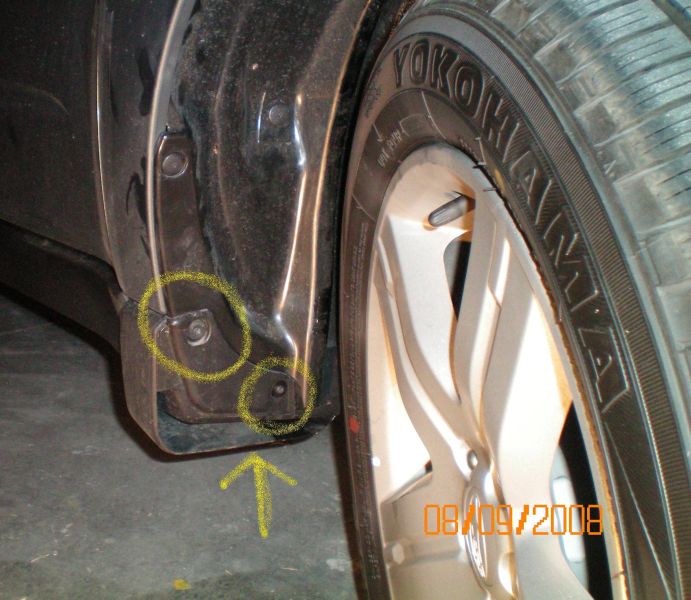
4. Remove 3 plugs and one screw from the wheel well so we can pull back the wheel well liner. It does not have to be completely removed. The 3 plugs are just above where the mud flap was attached, the screw is at the top of the wheel well near the strut.
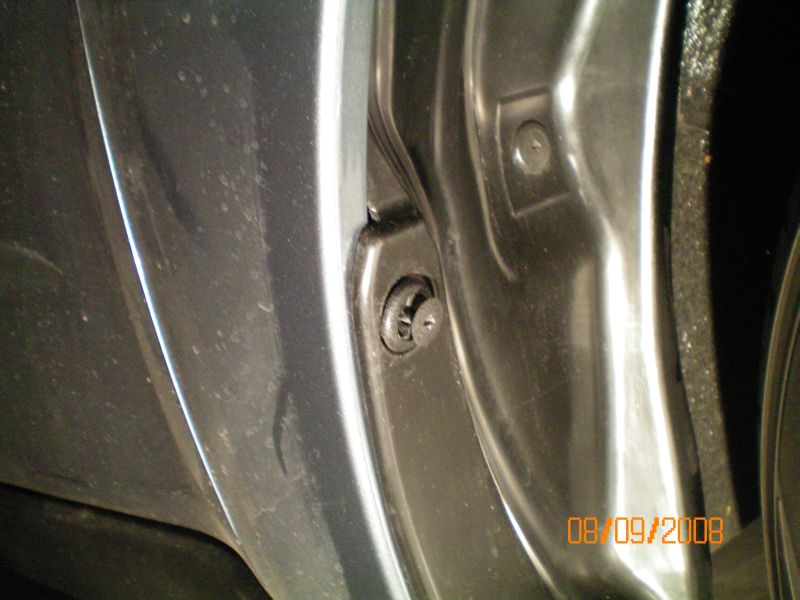
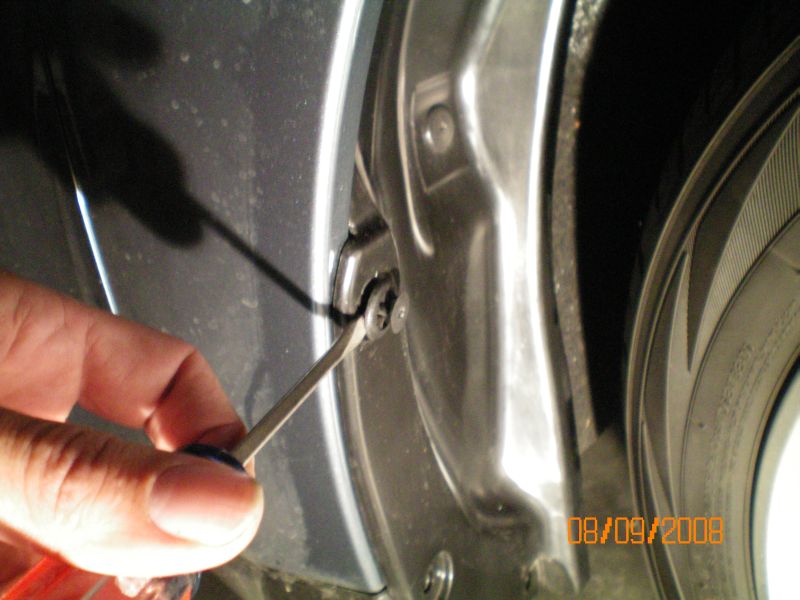
5. The plugs are the little plastic things with a Phillips head on them. Using a Phillips screwdriver, simply unscrew them about a Ľ turn, and the center part should pop out. You will feel a small click.
6. Then, using a standard screwdriver, GENTLY pry out the plug.
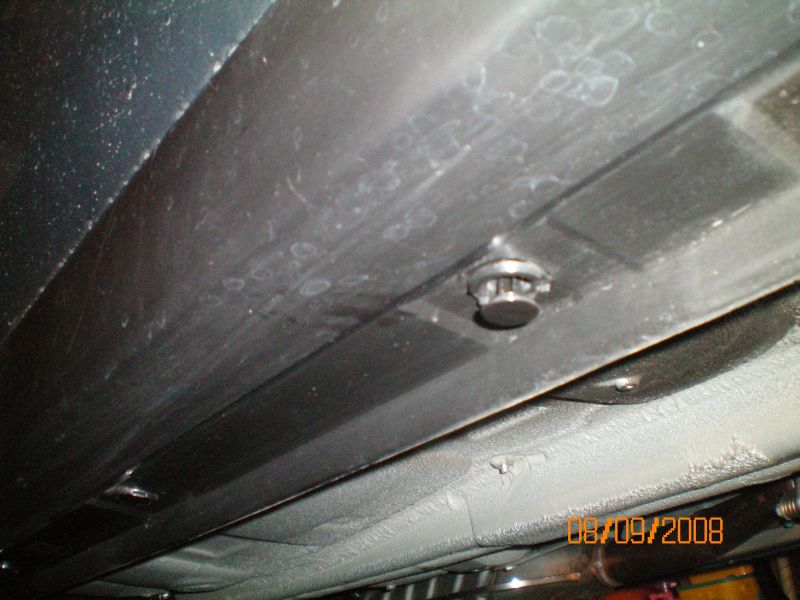
7. Next we will remove the rocker panel. There about five plugs holding the rocker
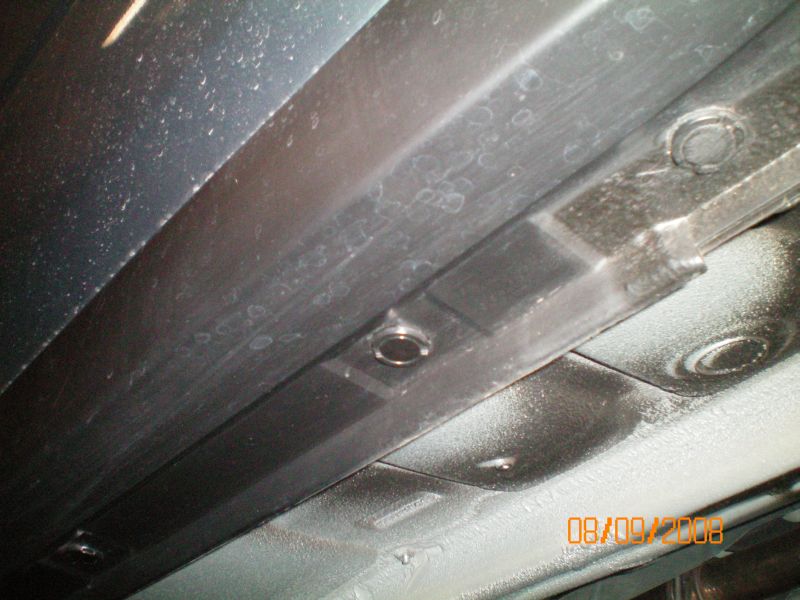
8. These plugs are different than the previous ones and a bit simpler too. Using the standard screwdriver, insert it into the slot at the side and twist. The center part will pop out. Then just pull the plugs out with your fingers.
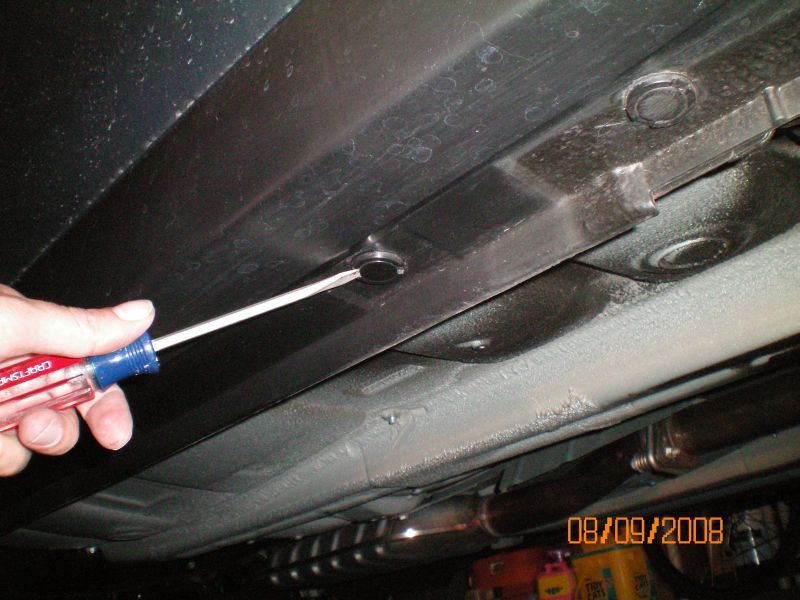
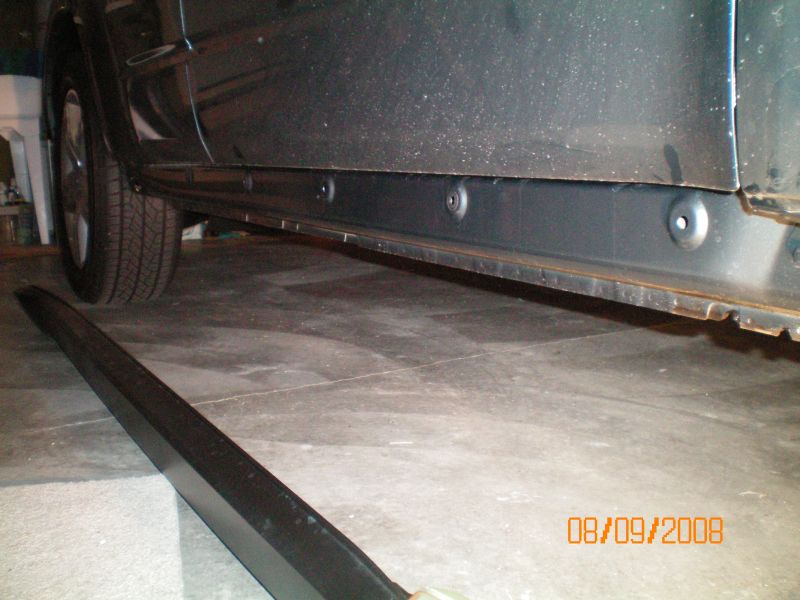
9. The only think holding the rocker on is 5 plastic clips. Start toward the front of the vehicle and give the rocker a quick tug straight out. The rocker should come out very easily.
LED Light Installation
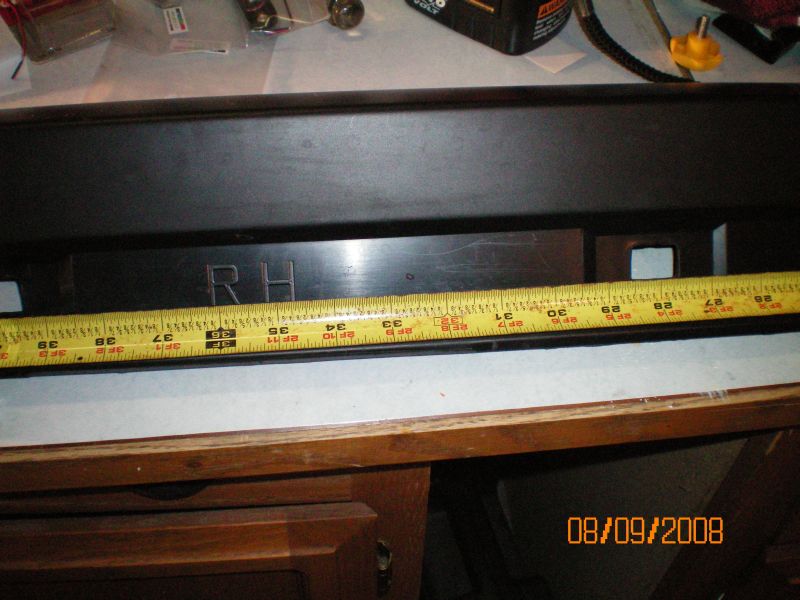
Note that unlike the Tribeca and other Foresters, there are no marks on the rocker for the location of the puddle lamps. This just means you get to install them wherever you like. I also chose to only install one light per side. I’ve done this on 2 other vehicles and it has been plenty sufficient.1. My lights are installed 32 1/2 inches from the front of the rocker. Place a mark in the center of the rocker for a drill hole.
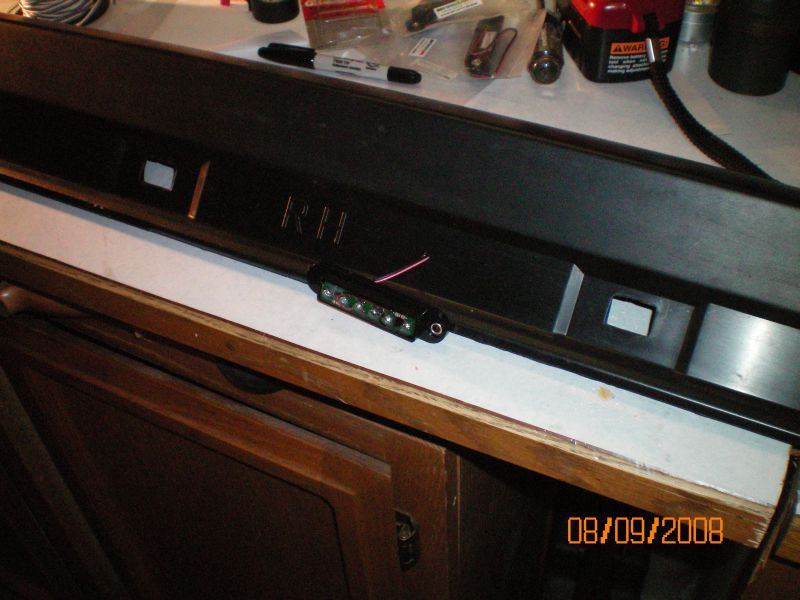
2. Drill a 5/32 hole. I went ahead and placed the LED lamp wire through the hole so you can see it better.
3. Cut a piece of heavy duty doubled tape large enough for the LED light module. Place a small hole in the center for the wires to pass through. Alternately, you can cut a slit from one of the sides. Trim the tape around the edges of the light to make it neat.
OPTIONAL, you can also mount the lights using screws, but I chose not to. I did this just in case I wanted to change the location of the lights. I’ve used this method before on our Jeep and it has lasted through 4 winters (with lots of snow time), and several trips through the mud & brush. It showed absolutely no wear or indication that it became loose.
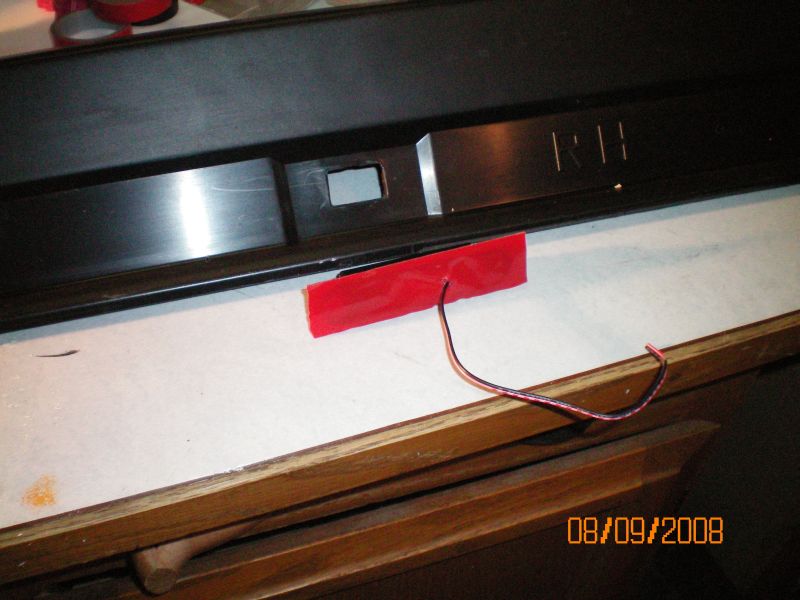
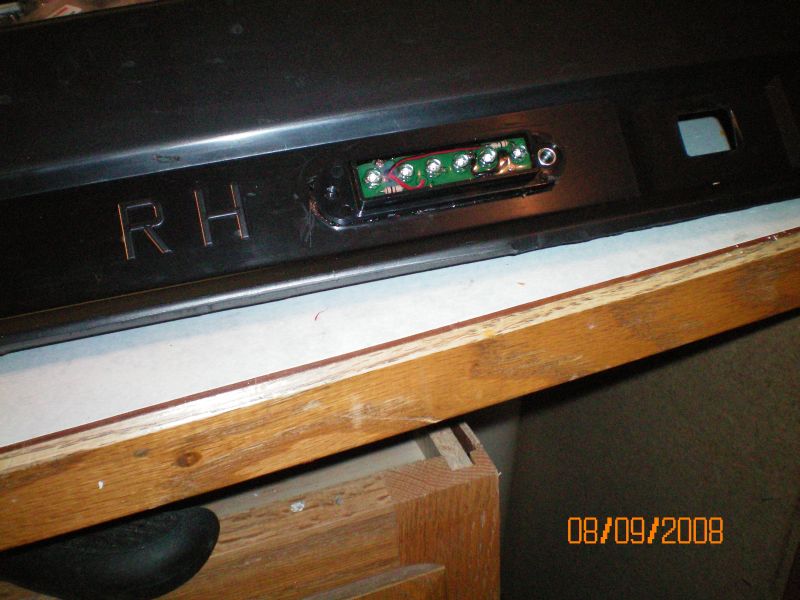
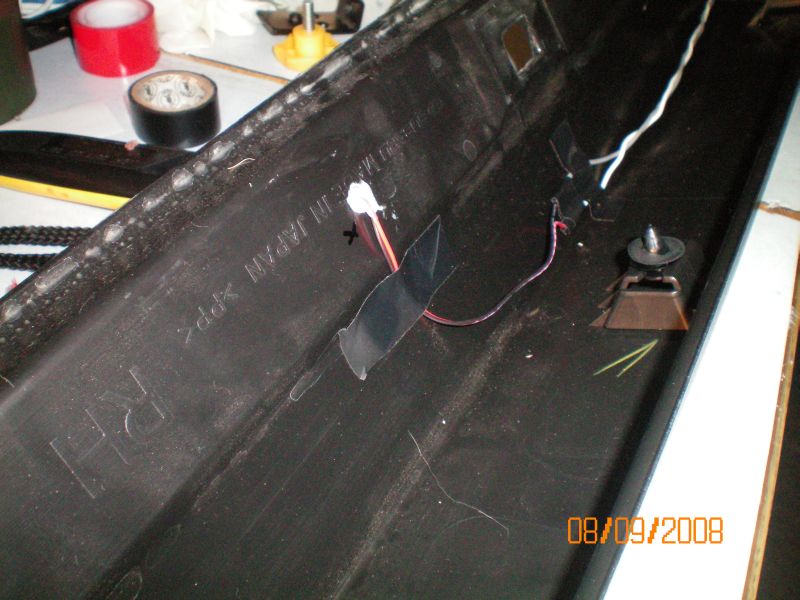
4. Place the wires through the hole you drilled, remove the tape backing, and stick it. Make sure you center it well.
5. Next we will splice our power wires together. I used grey and white wires because I had a large spool of it. I recommend red and black to match the existing wiring.
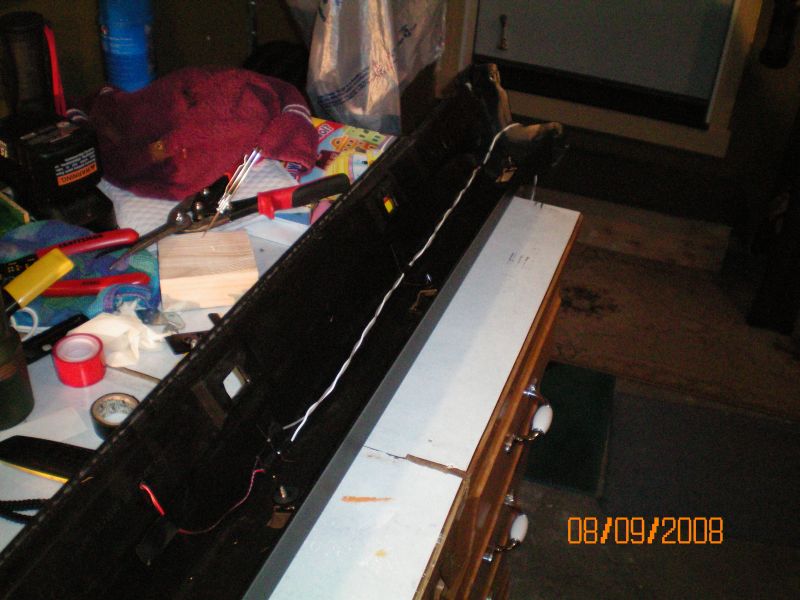
6. Place the wires in the rocker panel and route them toward the front of the rocker. I used electrical tape to tape them down. In addition, I placed a small bead of adhesive caulk to the drilled hole. This helps to prevent water getting in and holds the wires in place.
Re-install the rocker and complete installation
1. Ensure the power wires are coming out of the front of the rocker into the front wheel well.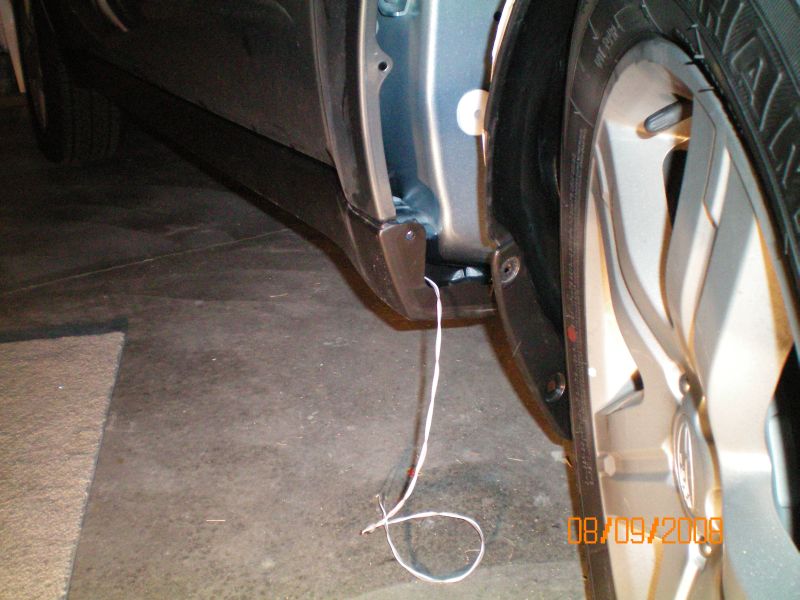
2. Starting from the rear of the rocker panel, gently push the rocker back into place. Each clip will fit perfectly in its place without much effort. If you have to push too hard, check your alignment.
3. Re-install the plugs on the rocker panel by inserting the larger/outer plug, and then insert the inner plug with your fingers. No tools required.
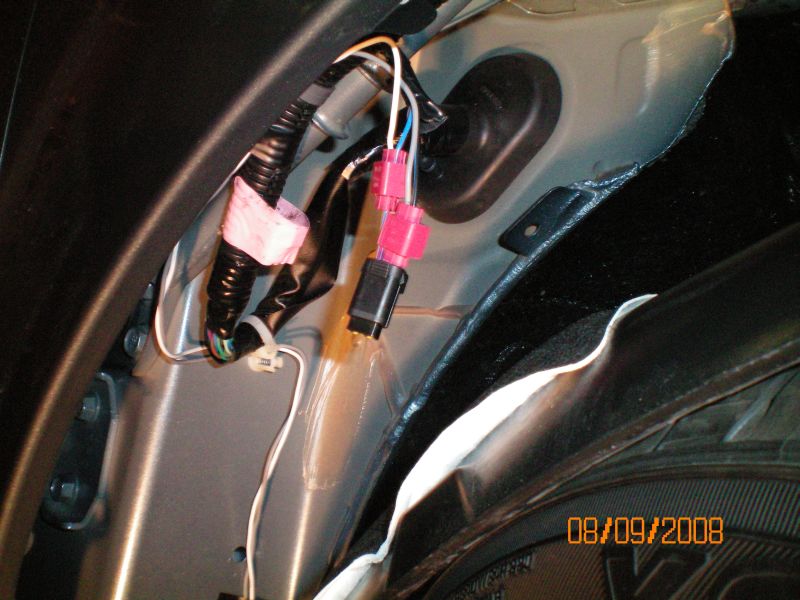
4. Once the rocker is back on, we can start the wiring. I didn’t do it, but it’s best if you disconnect the negative battery cable before doing any electrical work. Look into the back of the wheel well and you will see a bundle of wires. There is a connector wrapped in pink tape. This is the puddle lamp connector. If you had purchased the $150 Subaru kit, you would just plug in the lights. Instead, we will tap into the wires. The tape does NOT have to be removed. The connector has a cover over it and it is this cover that it taped. Just unclip the connector and pull it out. (Sorry, no good pictures)

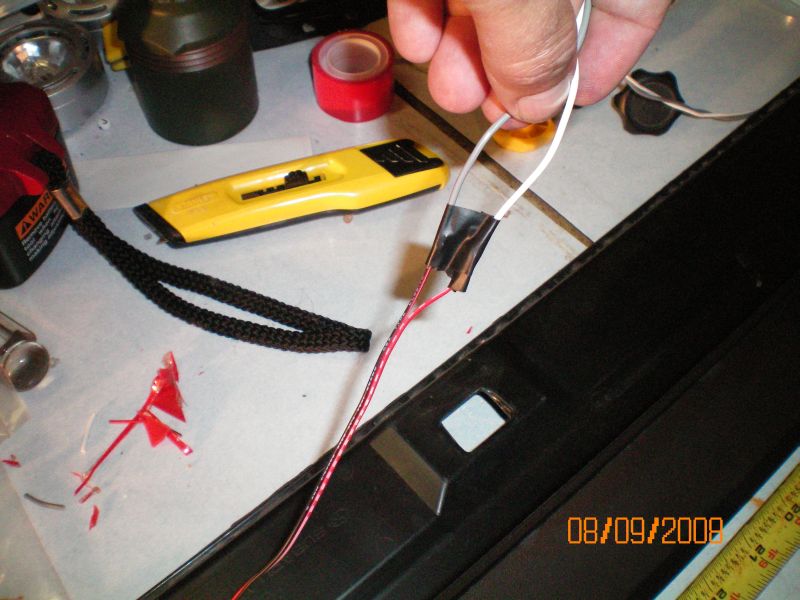
5. Remove about 2 inches of the plastic sheathing on the puddle lamp wires.
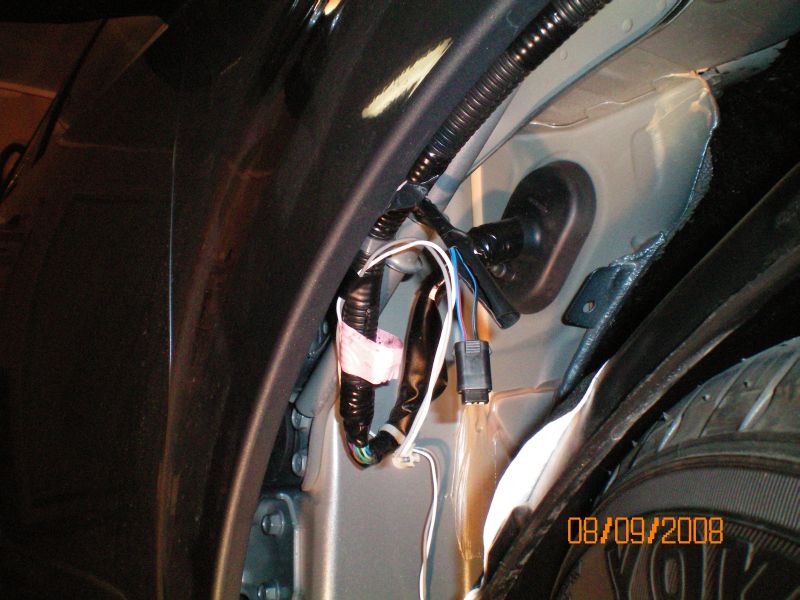
6. Using the tap splices, connect the red wire (from the lights, note that I used WHITE) to the blue/red wire. Then the black wire (from the lights, note that I used grey) to the blue/black wire.
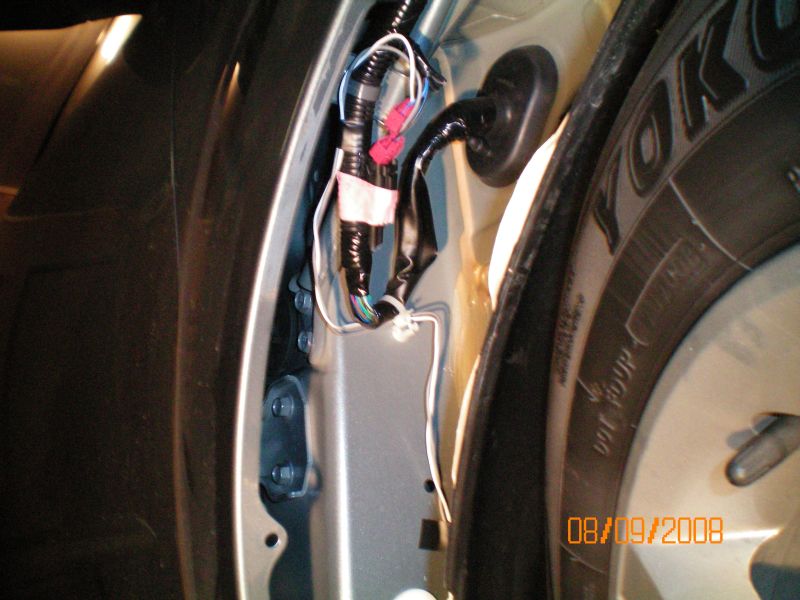
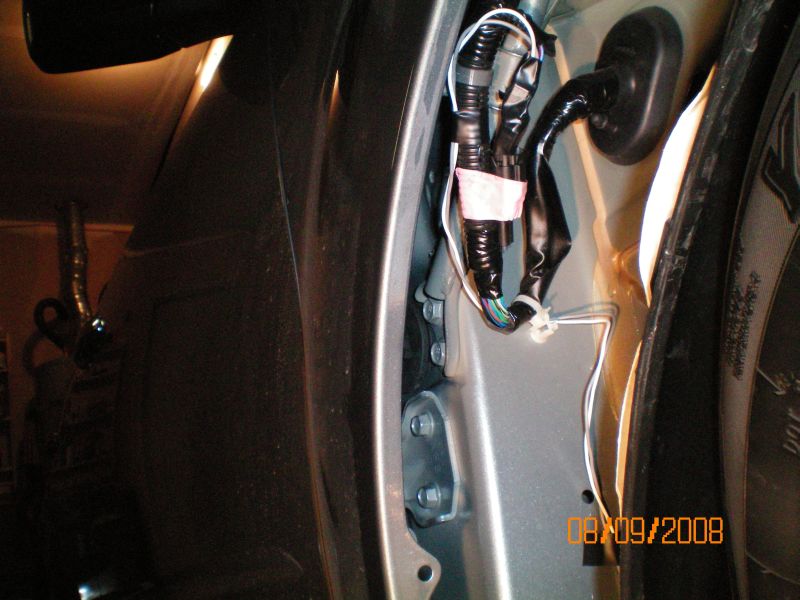
7. Place the connector back into its holder. And wrap with electrical tape.
Finishing Up
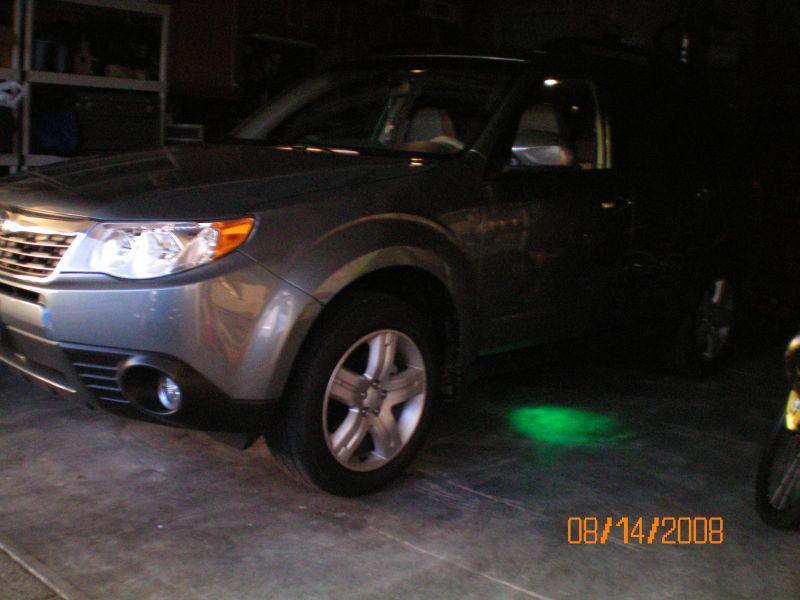
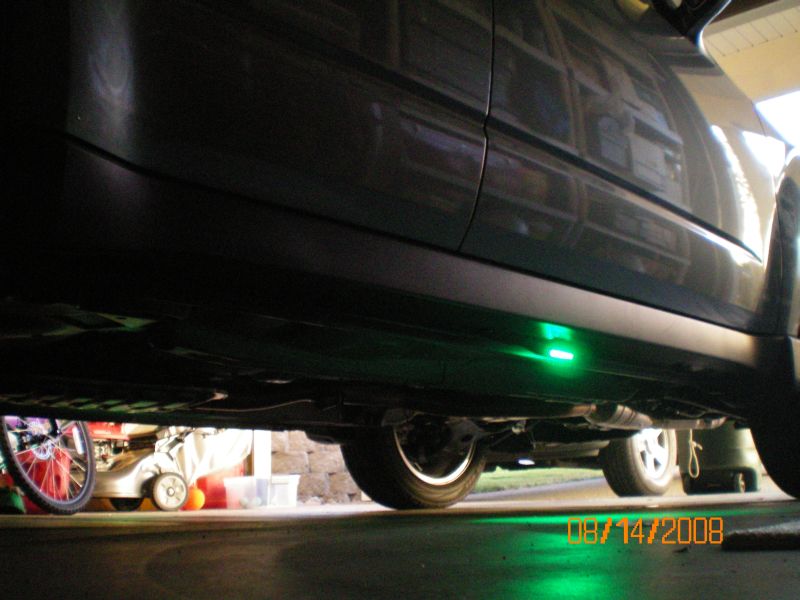
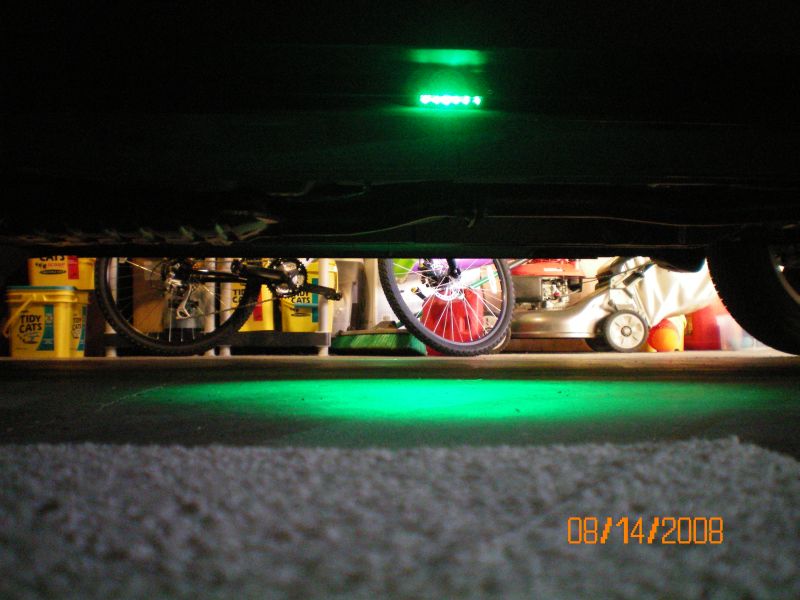
1. At this point you can reconnect the battery and test the lights. They should work perfectly!2. After testing, re-install the wheel well liner and mud flaps. Then do the other side.
Tap Splices